Customizing the JSPUI pages
For the earlier post about Dspace 6 Installation on Windows 7 - 64 bit ,
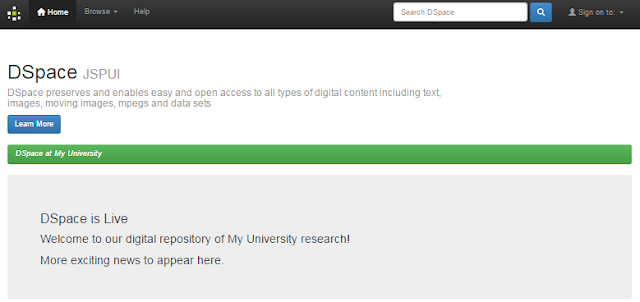
after finished DSpace version 6 installation, you should see the screen of webpage as the picture below which can be customized upon your purpose by default is 'JSPUI template'.
The basically for testing layout customization , please open the directory
c:\apache-tomcat-7.0.69\webapps\ROOT\layout
(For this example, I'd changed directory's name from 'jspui' to 'ROOT')
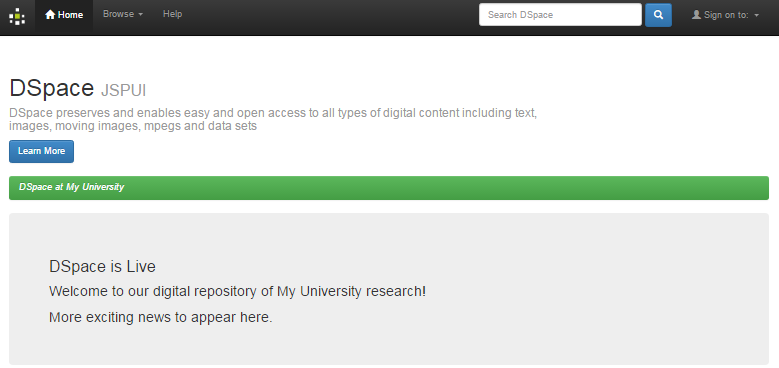
The picture below is the default screen of dspace homepage without any customization.
The picture below is the default screen of dspace homepage without any customization.

*********************************************************************************************************
Example 1 : Hidden or Replace 'DSpace JSPUI description' on header

Instructions:
1. Open filename 'header-default.jsp' in c:\apache-tomcat-7.0.69\webapps\ROOT\layout\
with any text editor (such as: Notepad++ / Editplus etc. )
2. If you'd like to hidden, take a look at line no. about 135 and remark on two lines as below and save file.

but if you'd like to replace anything, could replace here without comment.
3. Go back to your dspace homepage on web browser and try to refresh your screen by press F5 on keyboard and get the result.
*********************************************************************************************************
Example 2 : Hidden or Replace 'DSpace JSPUI Logo' on header
Instructions:

but if you'd like to replace by another logo, could replace here without comment.
3. Go back to your dspace homepage on web browser and try to refresh your screen by press F5 on keyboard and get the result.
*********************************************************************************************************
Example 3 : Changing the 'DSpace Name' at Green Bar

Instructions:
The default of dspace name at green bar is 'DSpace at My University' but if you'd like to change to another name please follow these steps:
 2. Go back to your dspace homepage on web browser and try to refresh your screen by press F5 on keyboard and get the result.
*********************************************************************************************************
Example 4 : Changing the message at 'DSpace is Live..' area
Instructions:
If you'd like to change messages at box area of 'DSpace is Live...' please follow these steps::
2. Please login with an E-mail Address: and Password: from creating Administrator account for DSpace since the step of Install Dspace 6 on Windows 7 - 64 bit
3. Click at E-mail name on the top-right of screen and click Administer
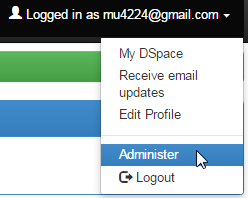
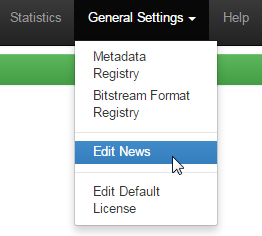
4. Click at menu 'General Settings' and click 'Edit News'
5. click at 'Top News' then click 'Edit' button

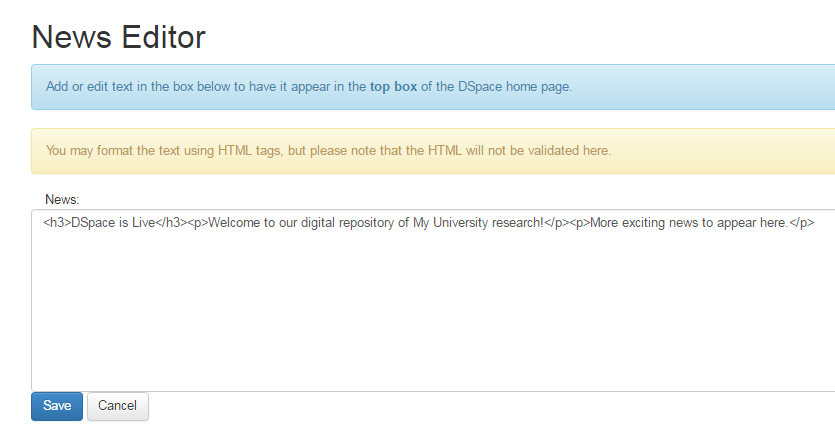
6. You can change any messages at 'News' box , it's better to have knowledge about html language for customizing. After finished, then click Save
*********************************************************************************************************
Keywords: dspace 6 customization, JSPUI Configuration and Customization
*********************************************************************************************************
Example 2 : Hidden or Replace 'DSpace JSPUI Logo' on header

Instructions:
1. Open filename 'header-default.jsp' in c:\apache-tomcat-7.0.69\webapps\ROOT\layout\
with any text editor (such as: Notepad++ / Editplus etc. )
with any text editor (such as: Notepad++ / Editplus etc. )
2. If you'd like to hidden, take a look at line no. about 138 and remark on three lines as below and save file.
but if you'd like to replace by another logo, could replace here without comment.
3. Go back to your dspace homepage on web browser and try to refresh your screen by press F5 on keyboard and get the result.
*********************************************************************************************************
Example 3 : Changing the 'DSpace Name' at Green Bar

Instructions:
The default of dspace name at green bar is 'DSpace at My University' but if you'd like to change to another name please follow these steps:
1. Open 'dspace.cfg' in directory 'c:\dspace\config\' and change configuration at line no. about 47 to the new name then save and close text editor.
(Tips! For Windows, after customized the configuration, it's not necessary to restart apache tomcat service but Linux must be)
*********************************************************************************************************
Example 4 : Changing the message at 'DSpace is Live..' area
Instructions:
If you'd like to change messages at box area of 'DSpace is Live...' please follow these steps::
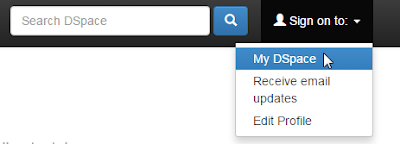
1. On the top-right of the screen, click at menu 'Sign on to: ' and click 'My DSpace'

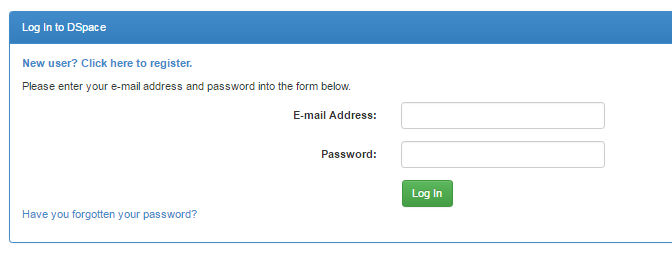
2. Please login with an E-mail Address: and Password: from creating Administrator account for DSpace since the step of Install Dspace 6 on Windows 7 - 64 bit
3. Click at E-mail name on the top-right of screen and click Administer

4. Click at menu 'General Settings' and click 'Edit News'

5. click at 'Top News' then click 'Edit' button
6. You can change any messages at 'News' box , it's better to have knowledge about html language for customizing. After finished, then click Save
*********************************************************************************************************
Keywords: dspace 6 customization, JSPUI Configuration and Customization